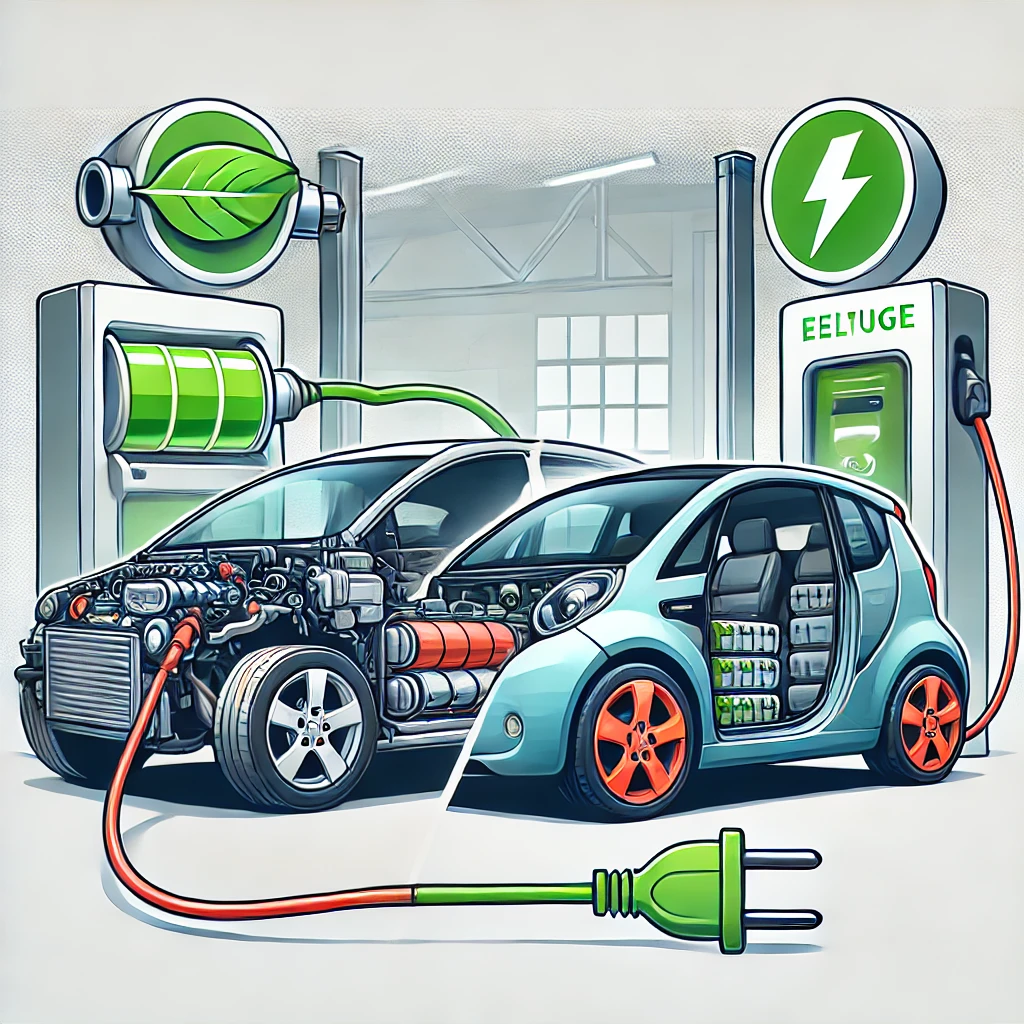
As the world shifts toward sustainable transportation, converting a petrol car to an electric vehicle (EV) is becoming an attractive option for many car owners. Converting a petrol car to electric can save money on fuel, reduce carbon emissions, and extend the lifespan of your vehicle. In this guide, we will explore everything you need to know about the conversion process, including costs, required components, and legal considerations.
Why Convert a Petrol Car to Electric?
1. Environmental Benefits: EVs produce zero tailpipe emissions, reducing air pollution and carbon footprints.
2. Cost Savings: Lower maintenance costs and savings on fuel expenses.
3. Performance Improvement: Electric motors provide instant torque and smoother driving.
4. Extending Vehicle Life: Conversion can give an old car a new lease on life instead of scrapping it.
Can Your Car Be Converted?
Before beginning the conversion process, ensure your petrol car is a good candidate for conversion. Ideal cars for conversion include:
- Lightweight vehicles
- Manual transmission cars
- Models with strong chassis and ample battery storage space
Avoid converting vehicles with complex electronics or those that require extensive modifications.
Step 1: Planning and Budgeting
Cost Breakdown
The cost of converting a petrol car to electric varies, depending on battery capacity, motor power, and labor. Here’s an estimated breakdown:
- Electric motor: $1,500 – $5,000
- Battery pack: $3,000 – $10,000
- Motor controller: $1,000 – $3,000
- Charging system: $500 – $2,000
- Other components: $2,000 – $5,000
- Labor (if hiring a professional): $3,000 – $10,000
Tools Required
- Wrenches and sockets
- Wire strippers and crimpers
- Hydraulic lift or jack stands
- Battery management system (BMS)
- Safety gloves and goggles
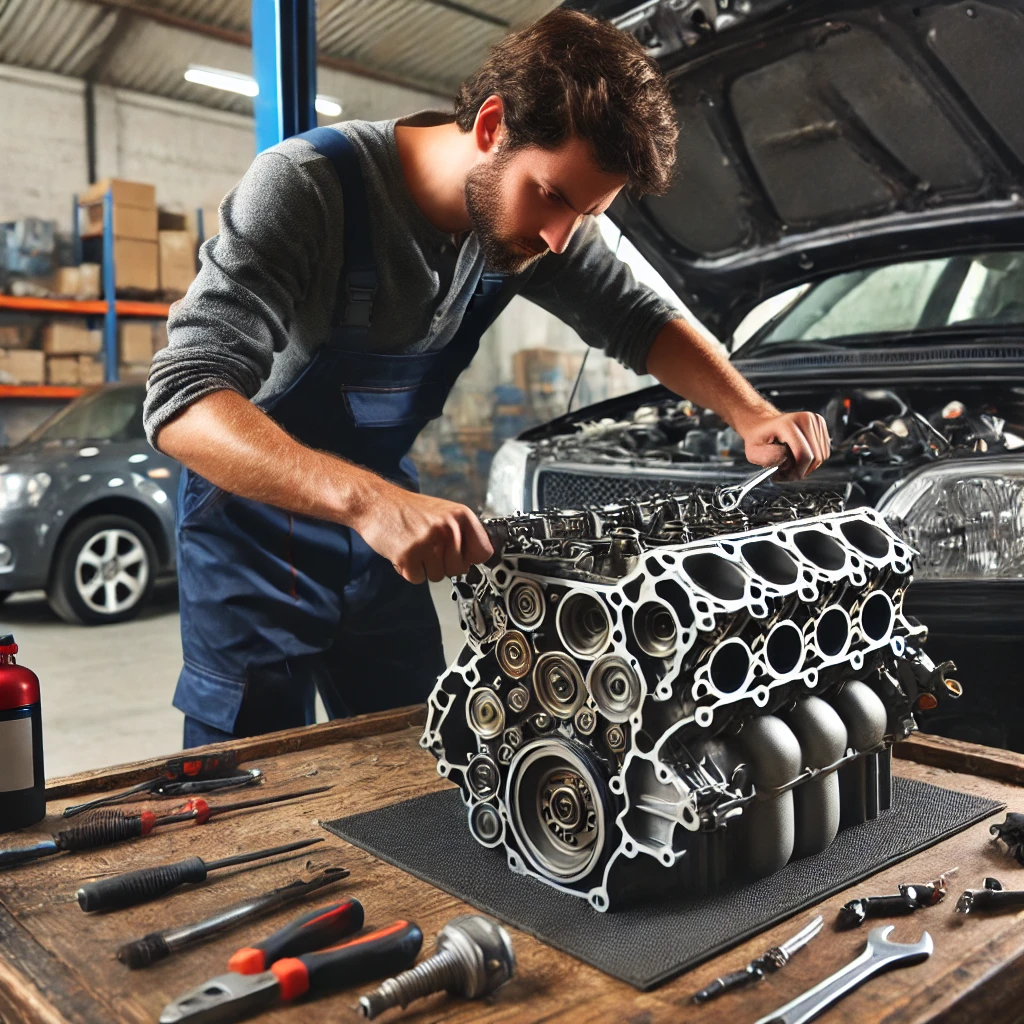
Step 2: Removing Internal Combustion Engine (ICE)
1. Drain Fluids: Remove engine oil, coolant, and fuel.
2. Disconnect Battery: Prevent electrical shocks by disconnecting the car battery.
3. Remove Exhaust System: Take out the exhaust pipe, muffler, and catalytic converter.
4. Detach Engine and Transmission: Carefully lift out the engine and separate it from the transmission (if keeping the original gearbox).
5. Clear Engine Bay: Remove unnecessary components to create space for the electric motor and battery pack.
Step 3: Installing Electric Components
Choosing the Right Motor
Types of electric motors for conversions:
DC Motors: Affordable, simple, but less efficient.
AC Motors: More efficient, regenerative braking, but costlier.
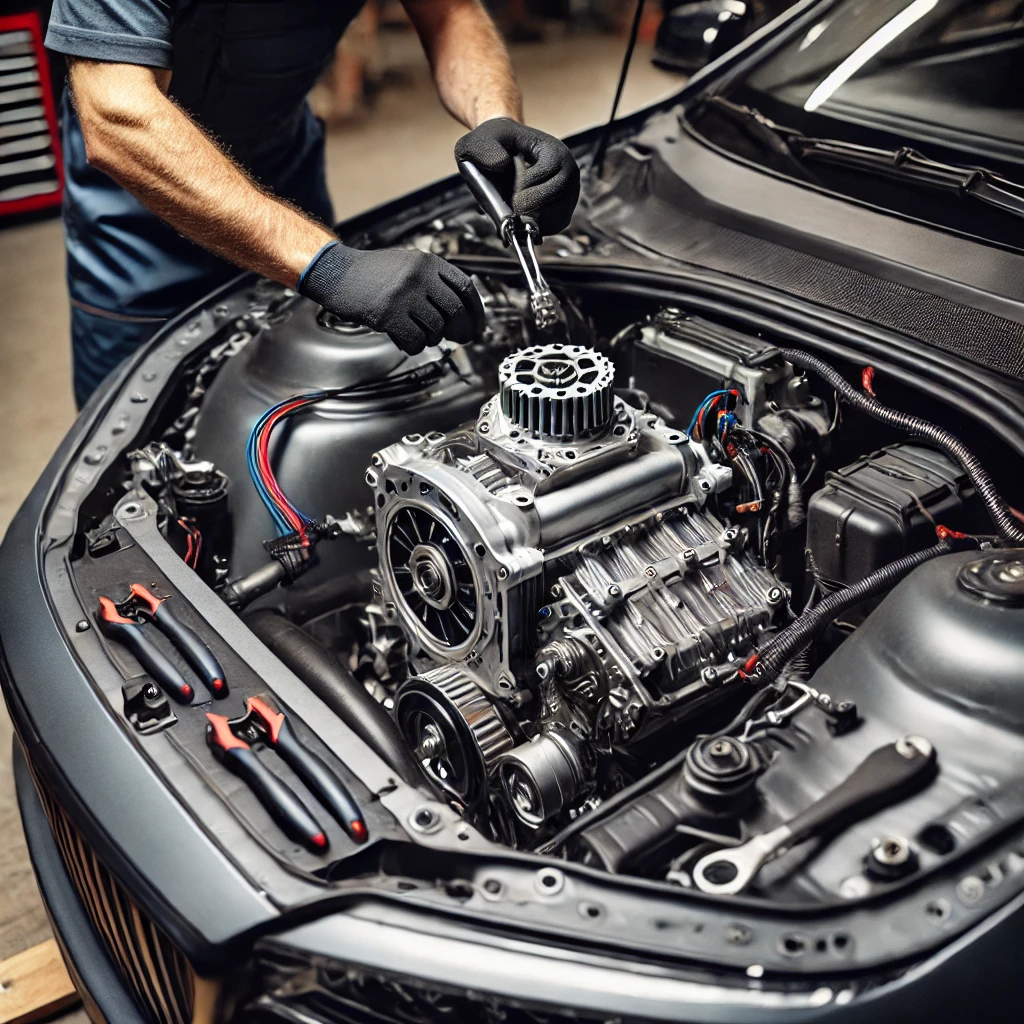
Installing the Motor
1. Mounting the Motor: Use an adapter plate to attach the electric motor to the existing transmission.
2. Aligning Components: Ensure the motor is properly aligned to prevent mechanical issues.
Battery Pack Selection
Consider factors like:
- Capacity (kWh): Determines driving range.
- Voltage: Must match the motor controller specifications.
- Battery Type: Lithium-ion batteries are preferred for efficiency and longevity.
Installing the Battery Pack
1. Choose Battery Placement: Preferably under the car’s floor or in the trunk for balance.
2. Secure Battery Mounts: Use reinforced brackets and enclosures to prevent movement.
3. Connect Battery Wires: Follow manufacturer instructions to avoid incorrect wiring.
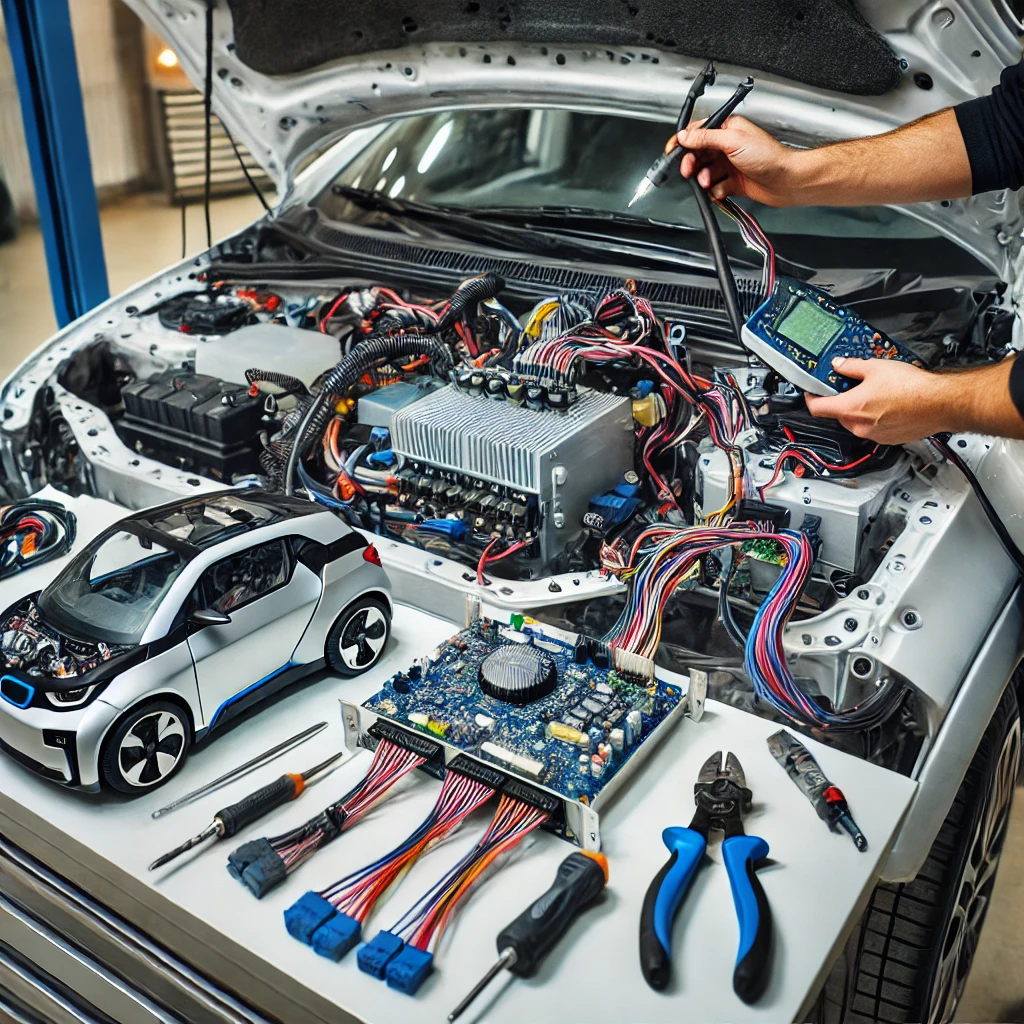
Step 4: Installing a Motor Controller
A motor controller regulates power delivery to the electric motor. Installation steps:
1. Mount the Controller: Place it in a ventilated area to prevent overheating.
2. Connect to Battery Pack: Use proper gauge wires and connectors.
3. Calibrate for Performance: Adjust settings based on driving needs.
Step 5: Adding a Charging System
Charging Port Installation
- Choose a location near the existing fuel cap.
- Connect it to the battery management system.
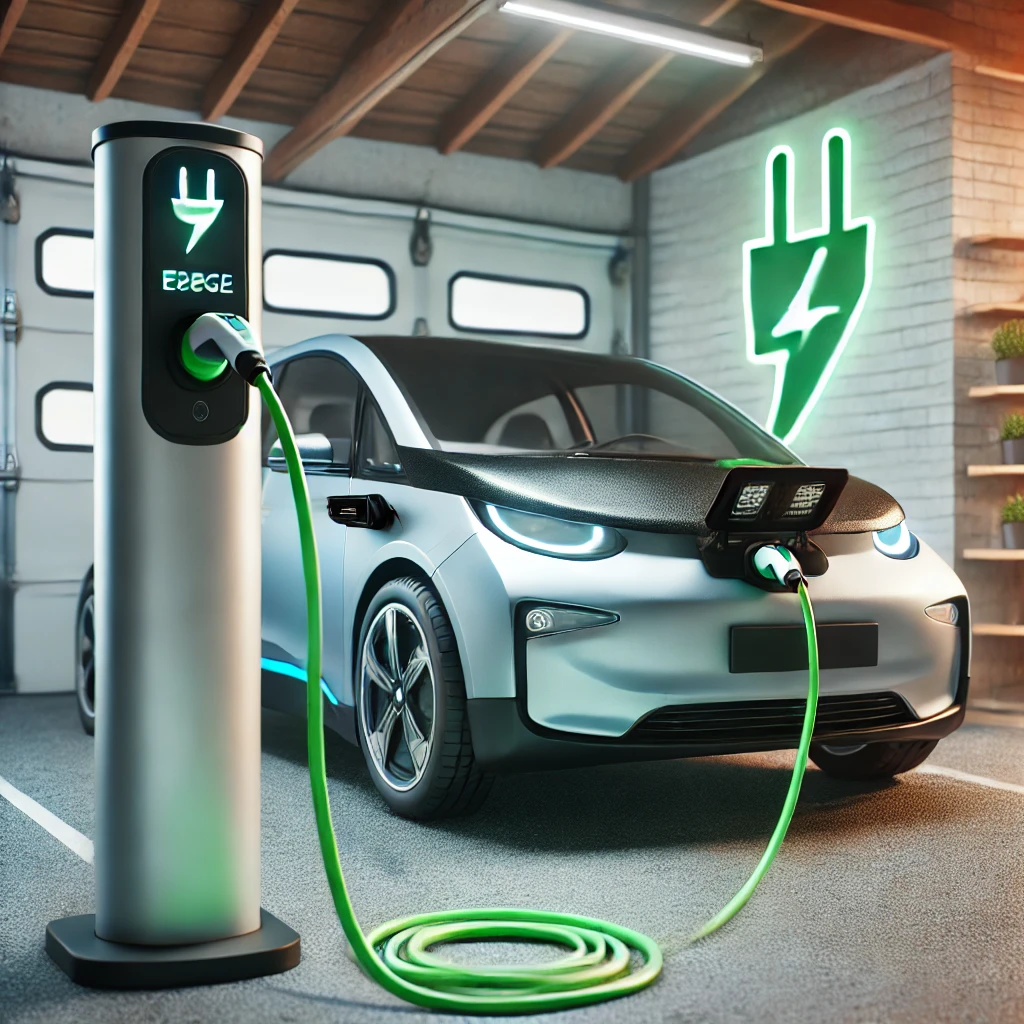
Selecting a Charger
Level 1 Charger: Standard home outlet (slow charging).
Level 2 Charger: 240V charger (faster charging).
DC Fast Charger: Suitable for high-capacity battery packs.
Step 6: Wiring and Safety Measures
1. Install Battery Management System (BMS): Prevents overcharging and overheating.
2. Check Insulation: Ensure high-voltage wires are properly insulated.
3. Test Electrical Connections: Avoid short circuits and faulty wiring.
Step 7: Testing and Legal Approvals
Initial Testing
- Turn on the system and check for error codes.
- Test drive at low speeds to ensure smooth operation.
Certification and Registration
- Obtain approval from the transport authority.
- Update registration documents.
- Ensure compliance with safety standards.
Conclusion
Converting a petrol car to an electric vehicle is a rewarding project that promotes sustainability and cost savings. While the process requires technical knowledge and an initial investment, the long-term benefits make it worthwhile. If you are ready to transition to an EV, follow this guide carefully and consult professionals when necessary.
Government Regulations & Legal Guidelines:
- U.S. EPA Regulations on Vehicle Conversions – https://www.epa.gov
- UK DVLA Electric Car Conversion Rules – https://www.gov.uk/vehicle-registration
- India’s RTO Guidelines for EV Conversions – https://vahan.parivahan.gov.in
EV Conversion Kits & Parts Suppliers:
- EV West (Conversion Kits & Motors) – https://www.evwest.com
- Electric GT (High-Performance EV Swaps) – https://www.electricgt.com
- Zelectric Motors (Classic Car Conversions) – https://www.zelectricmotors.com
Technical Resources & DIY Guides:
- OpenInverter Forum (EV Conversion Community) – https://openinverter.org
- DIY Electric Car Forum (Discussion & Guides) – https://www.diyelectriccar.com
- Battery University (Battery Tech & Safety) – https://batteryuniversity.com
Pingback: "Electric Car Engineering Explained: Motors, Batteries, Conversions & Future Innovations" - Electric Car Engineer